Wednesday, July 6, 2022

July and Crafter's Edge


My July project as part of the Crafter's Edge Design Team is a doll quilt.
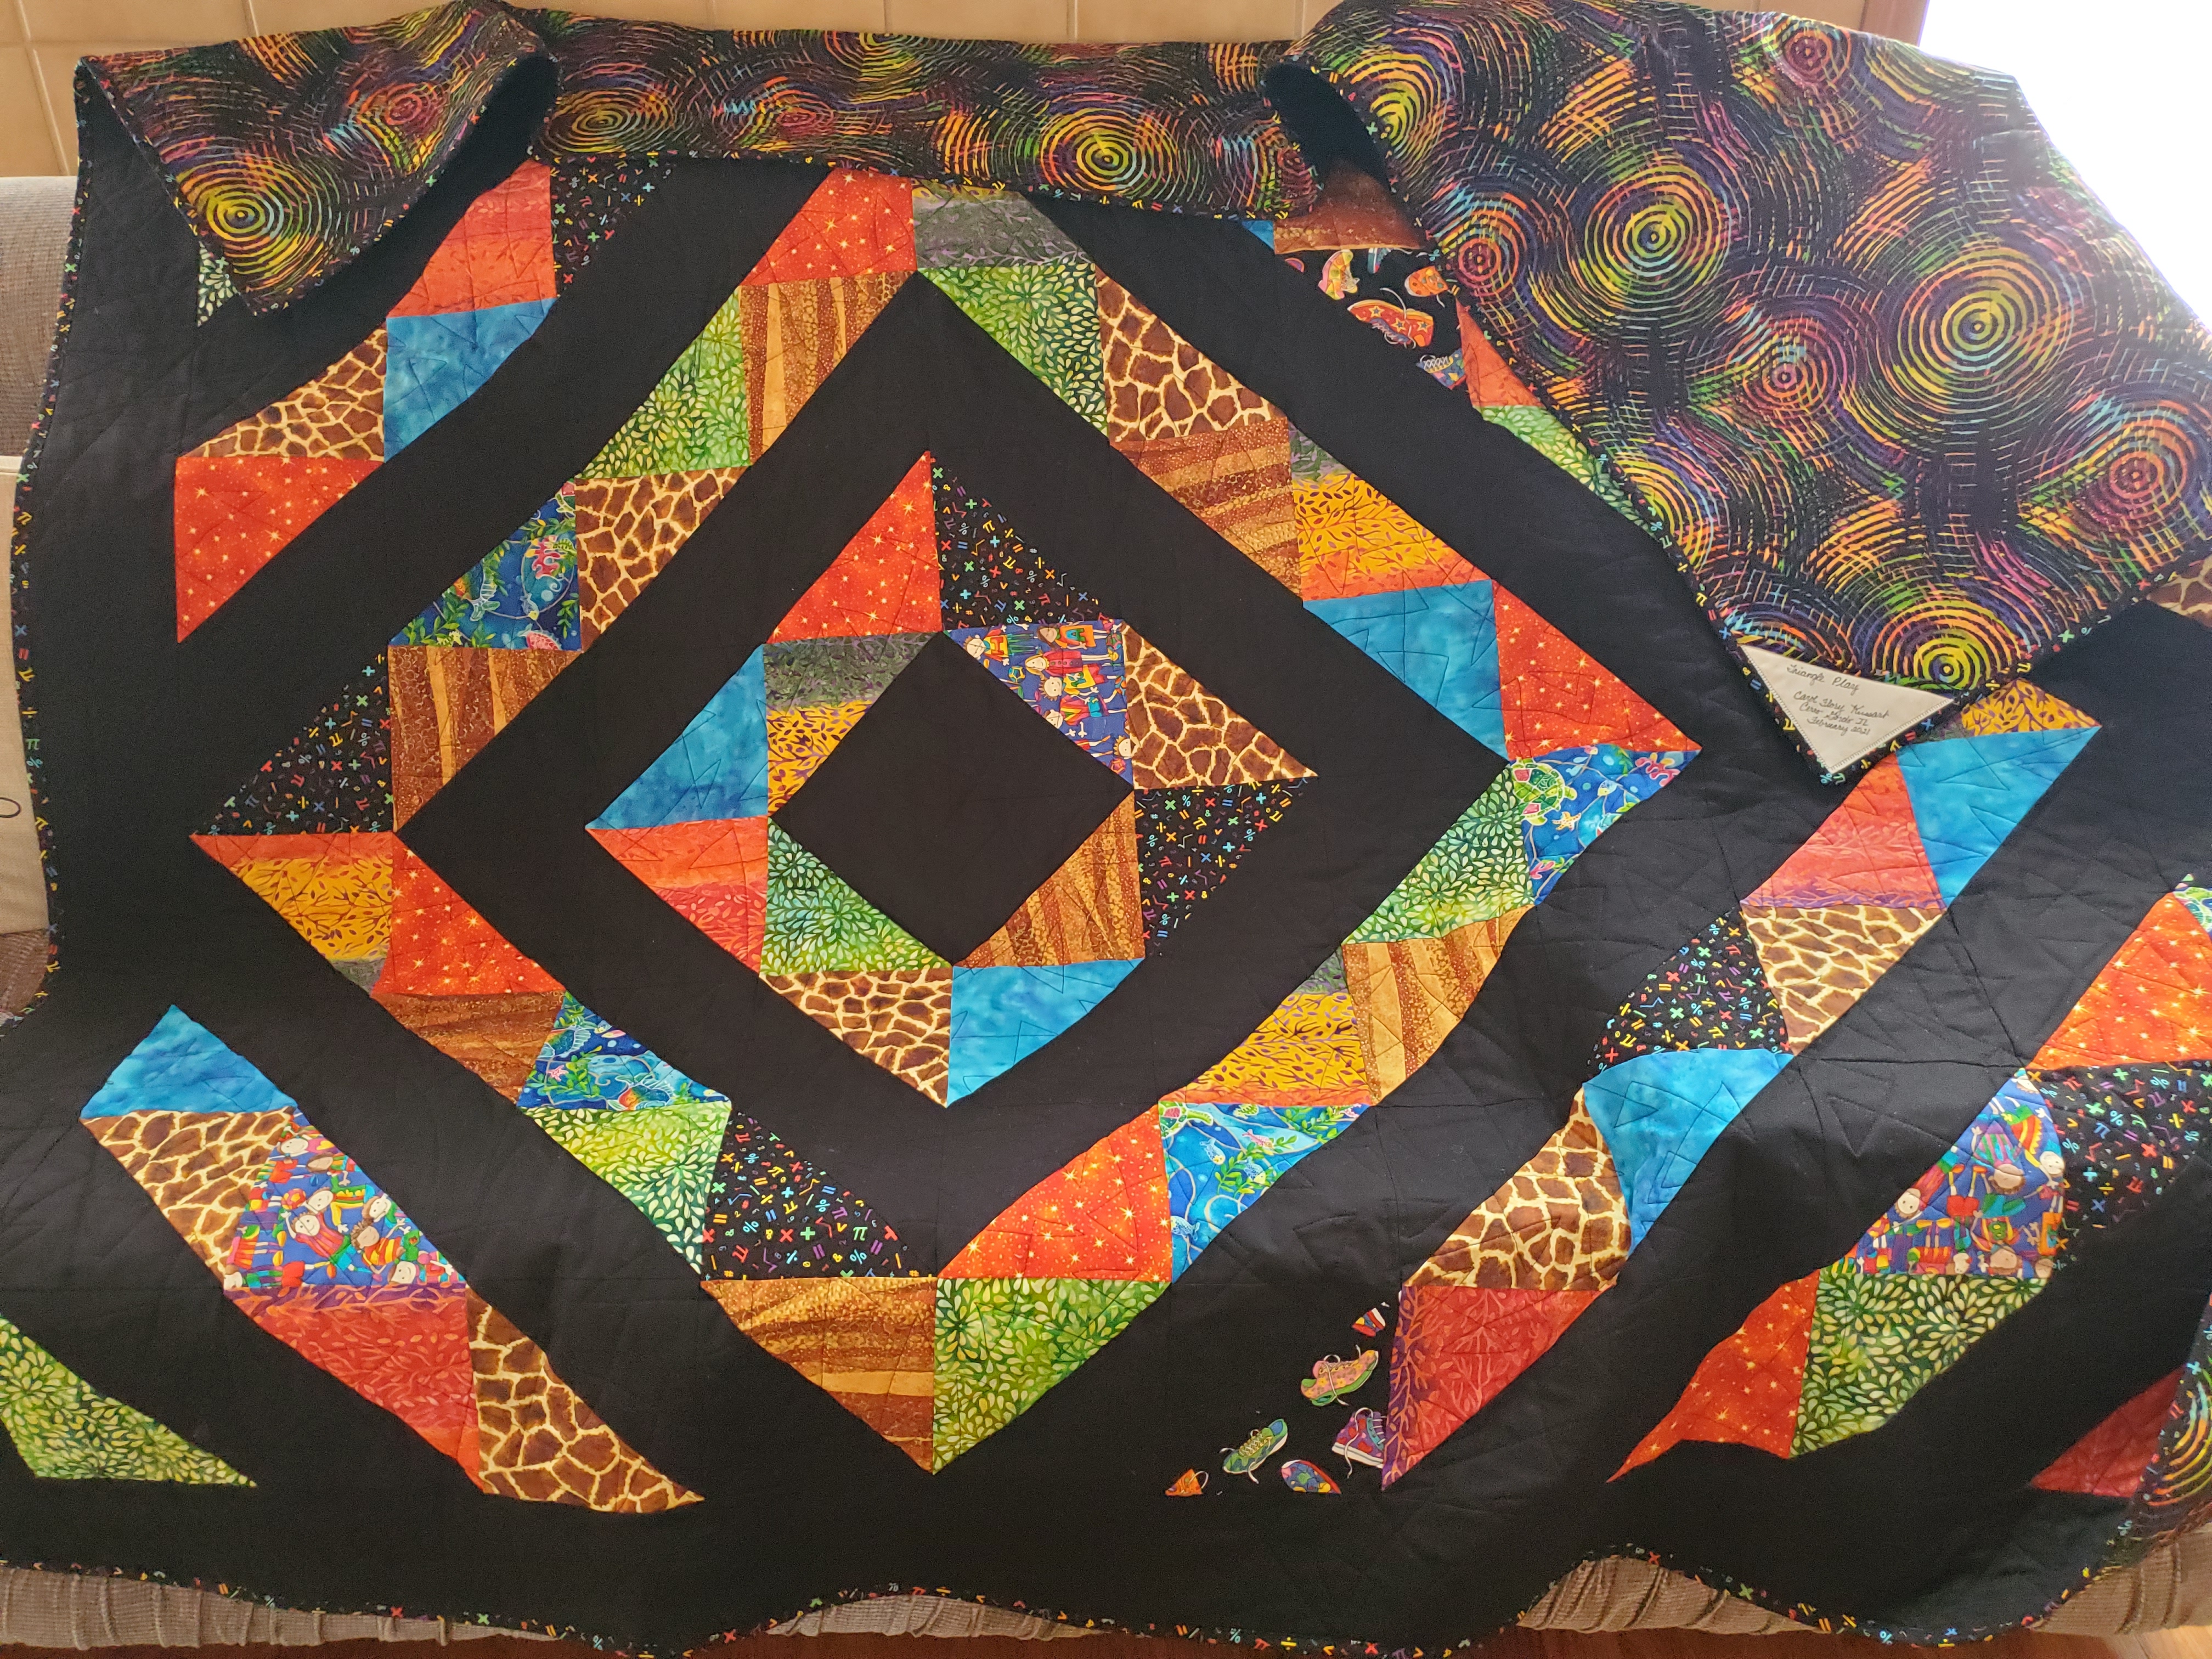
This little quilt is about 23 x 23". 


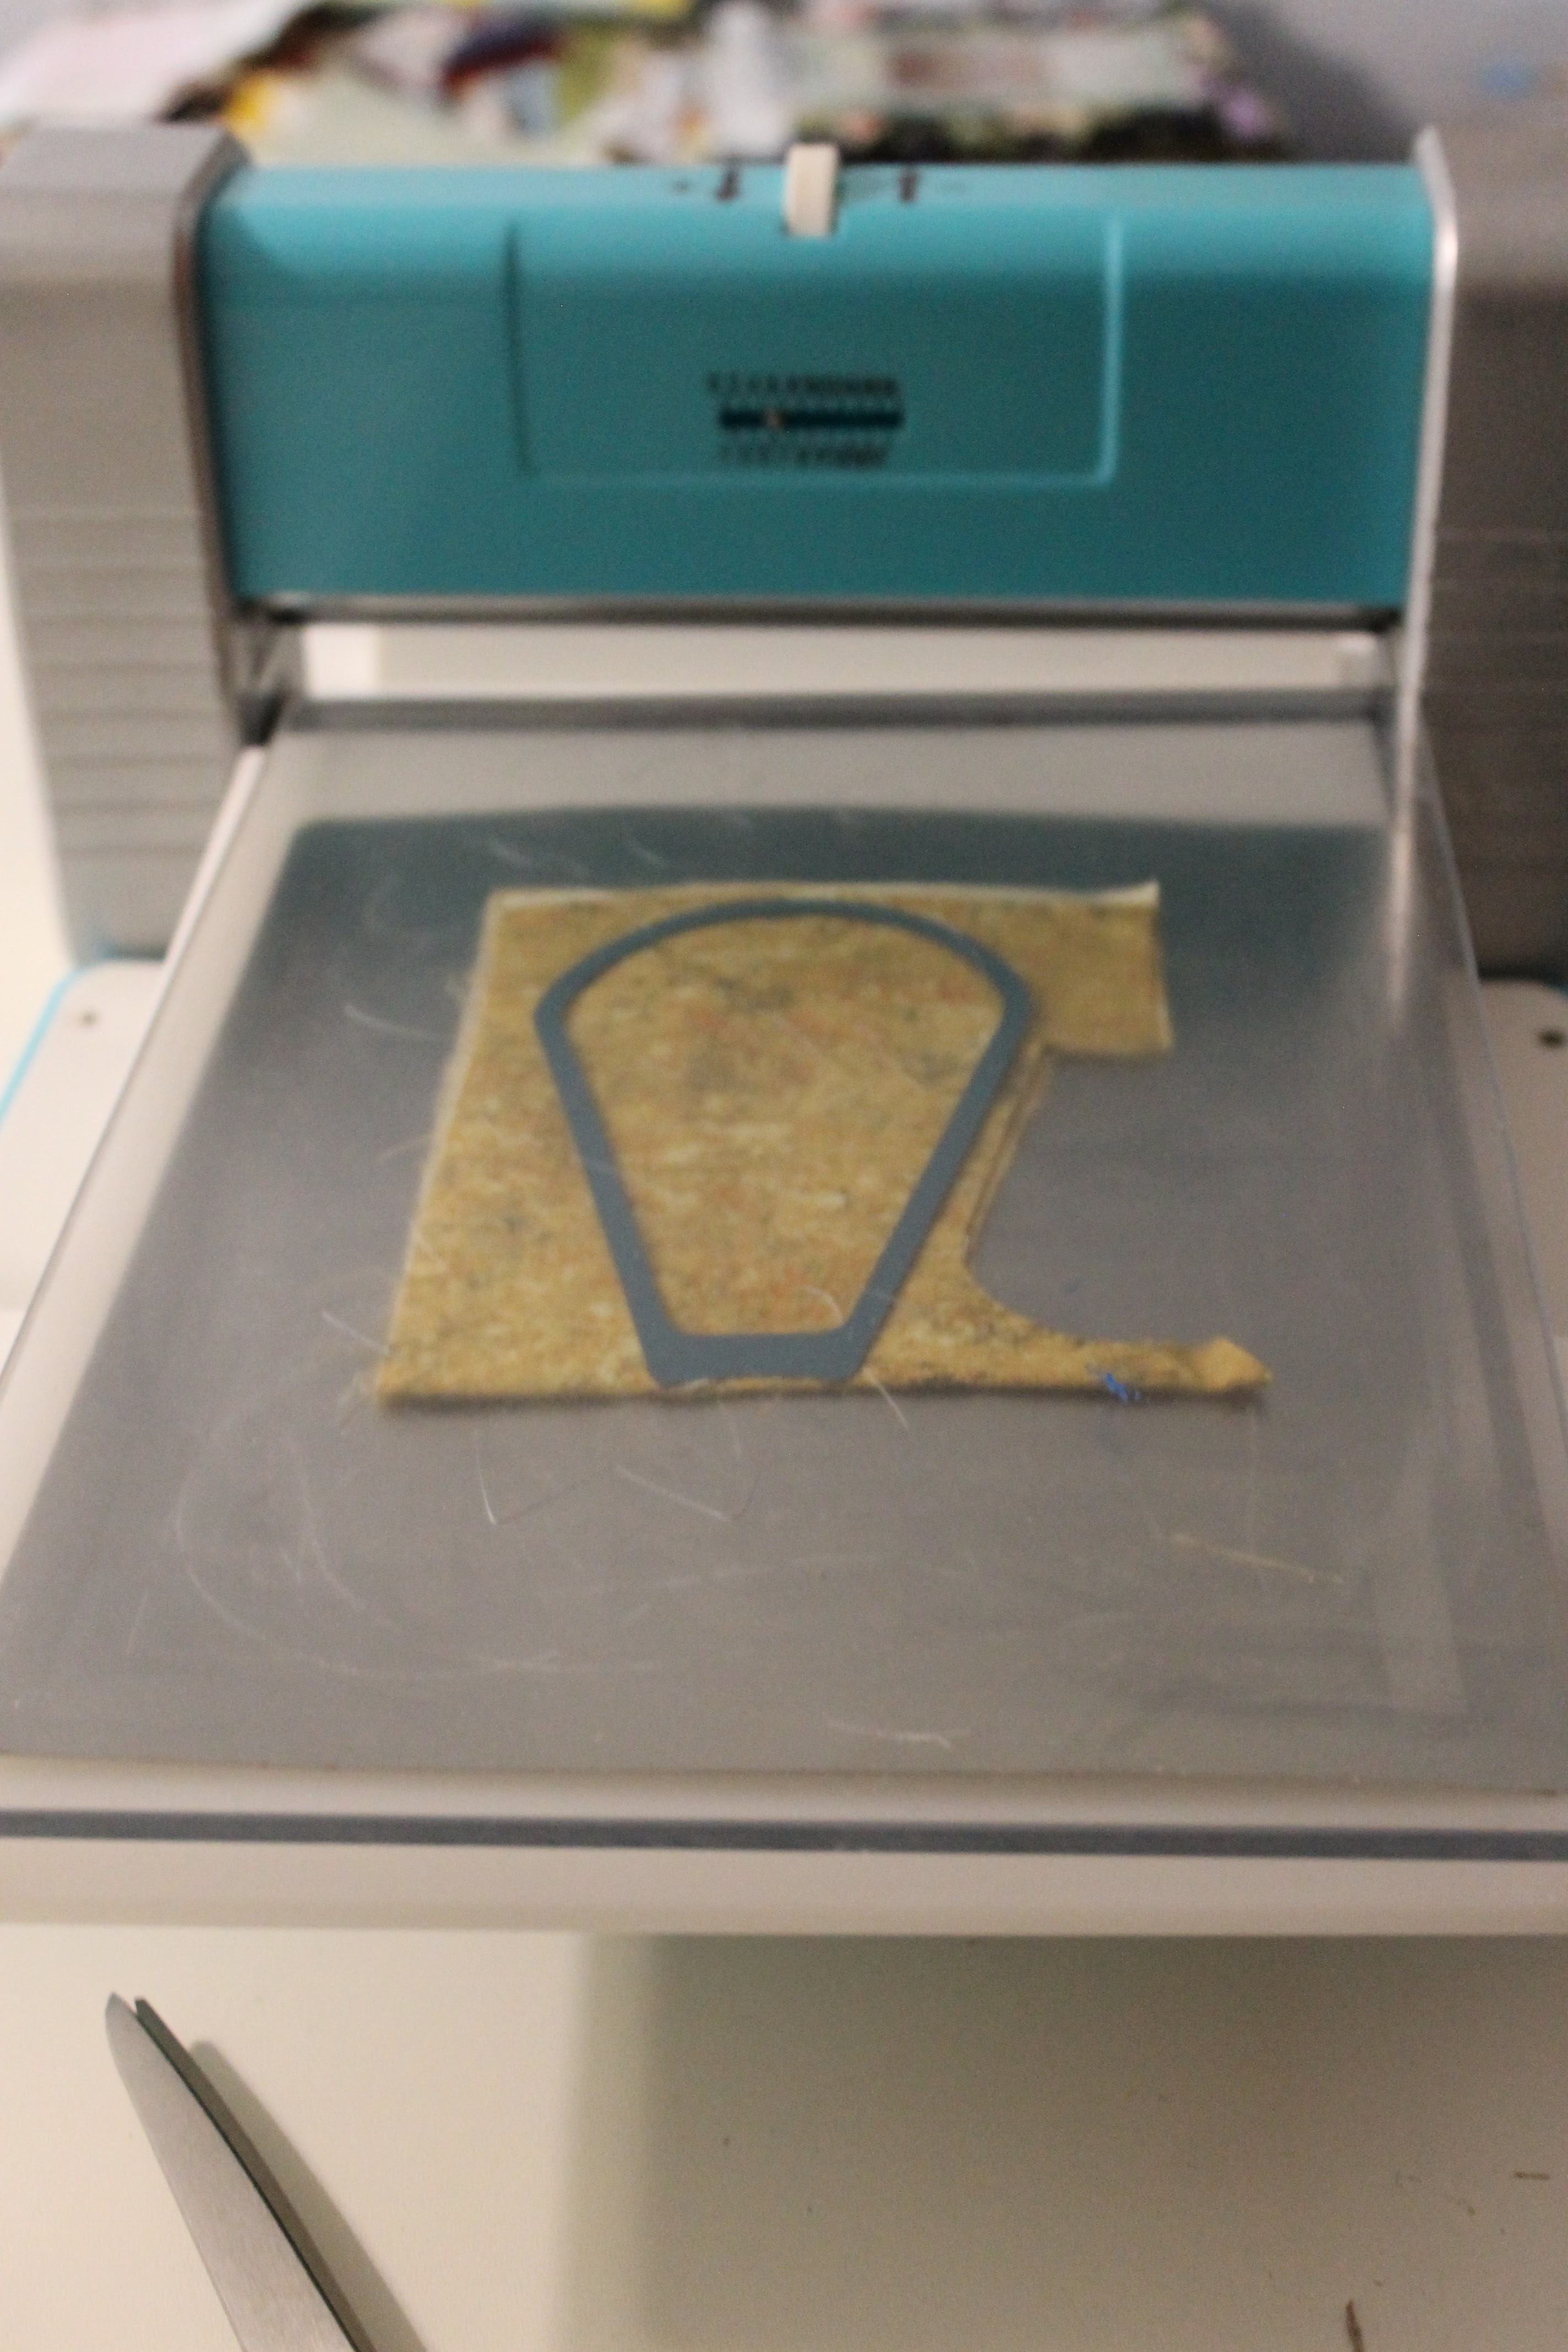
I used 2 different dies: the Half Square Triangle and the Nesting Hearts.
Here are some of the triangles cut out. I made more than enough triangles because I wasn't sure exactly how many pinwheel squares I wanted to make. I might use those for another project.

The hearts I used were leftover from another project, and they worked perfectly on this one.


The hearts and triangles were cut out using the Crossover II, Crafter's Edge cool cutting machine.


I usually cut 4 layers of fabric at a time, although you can cut up to 6.

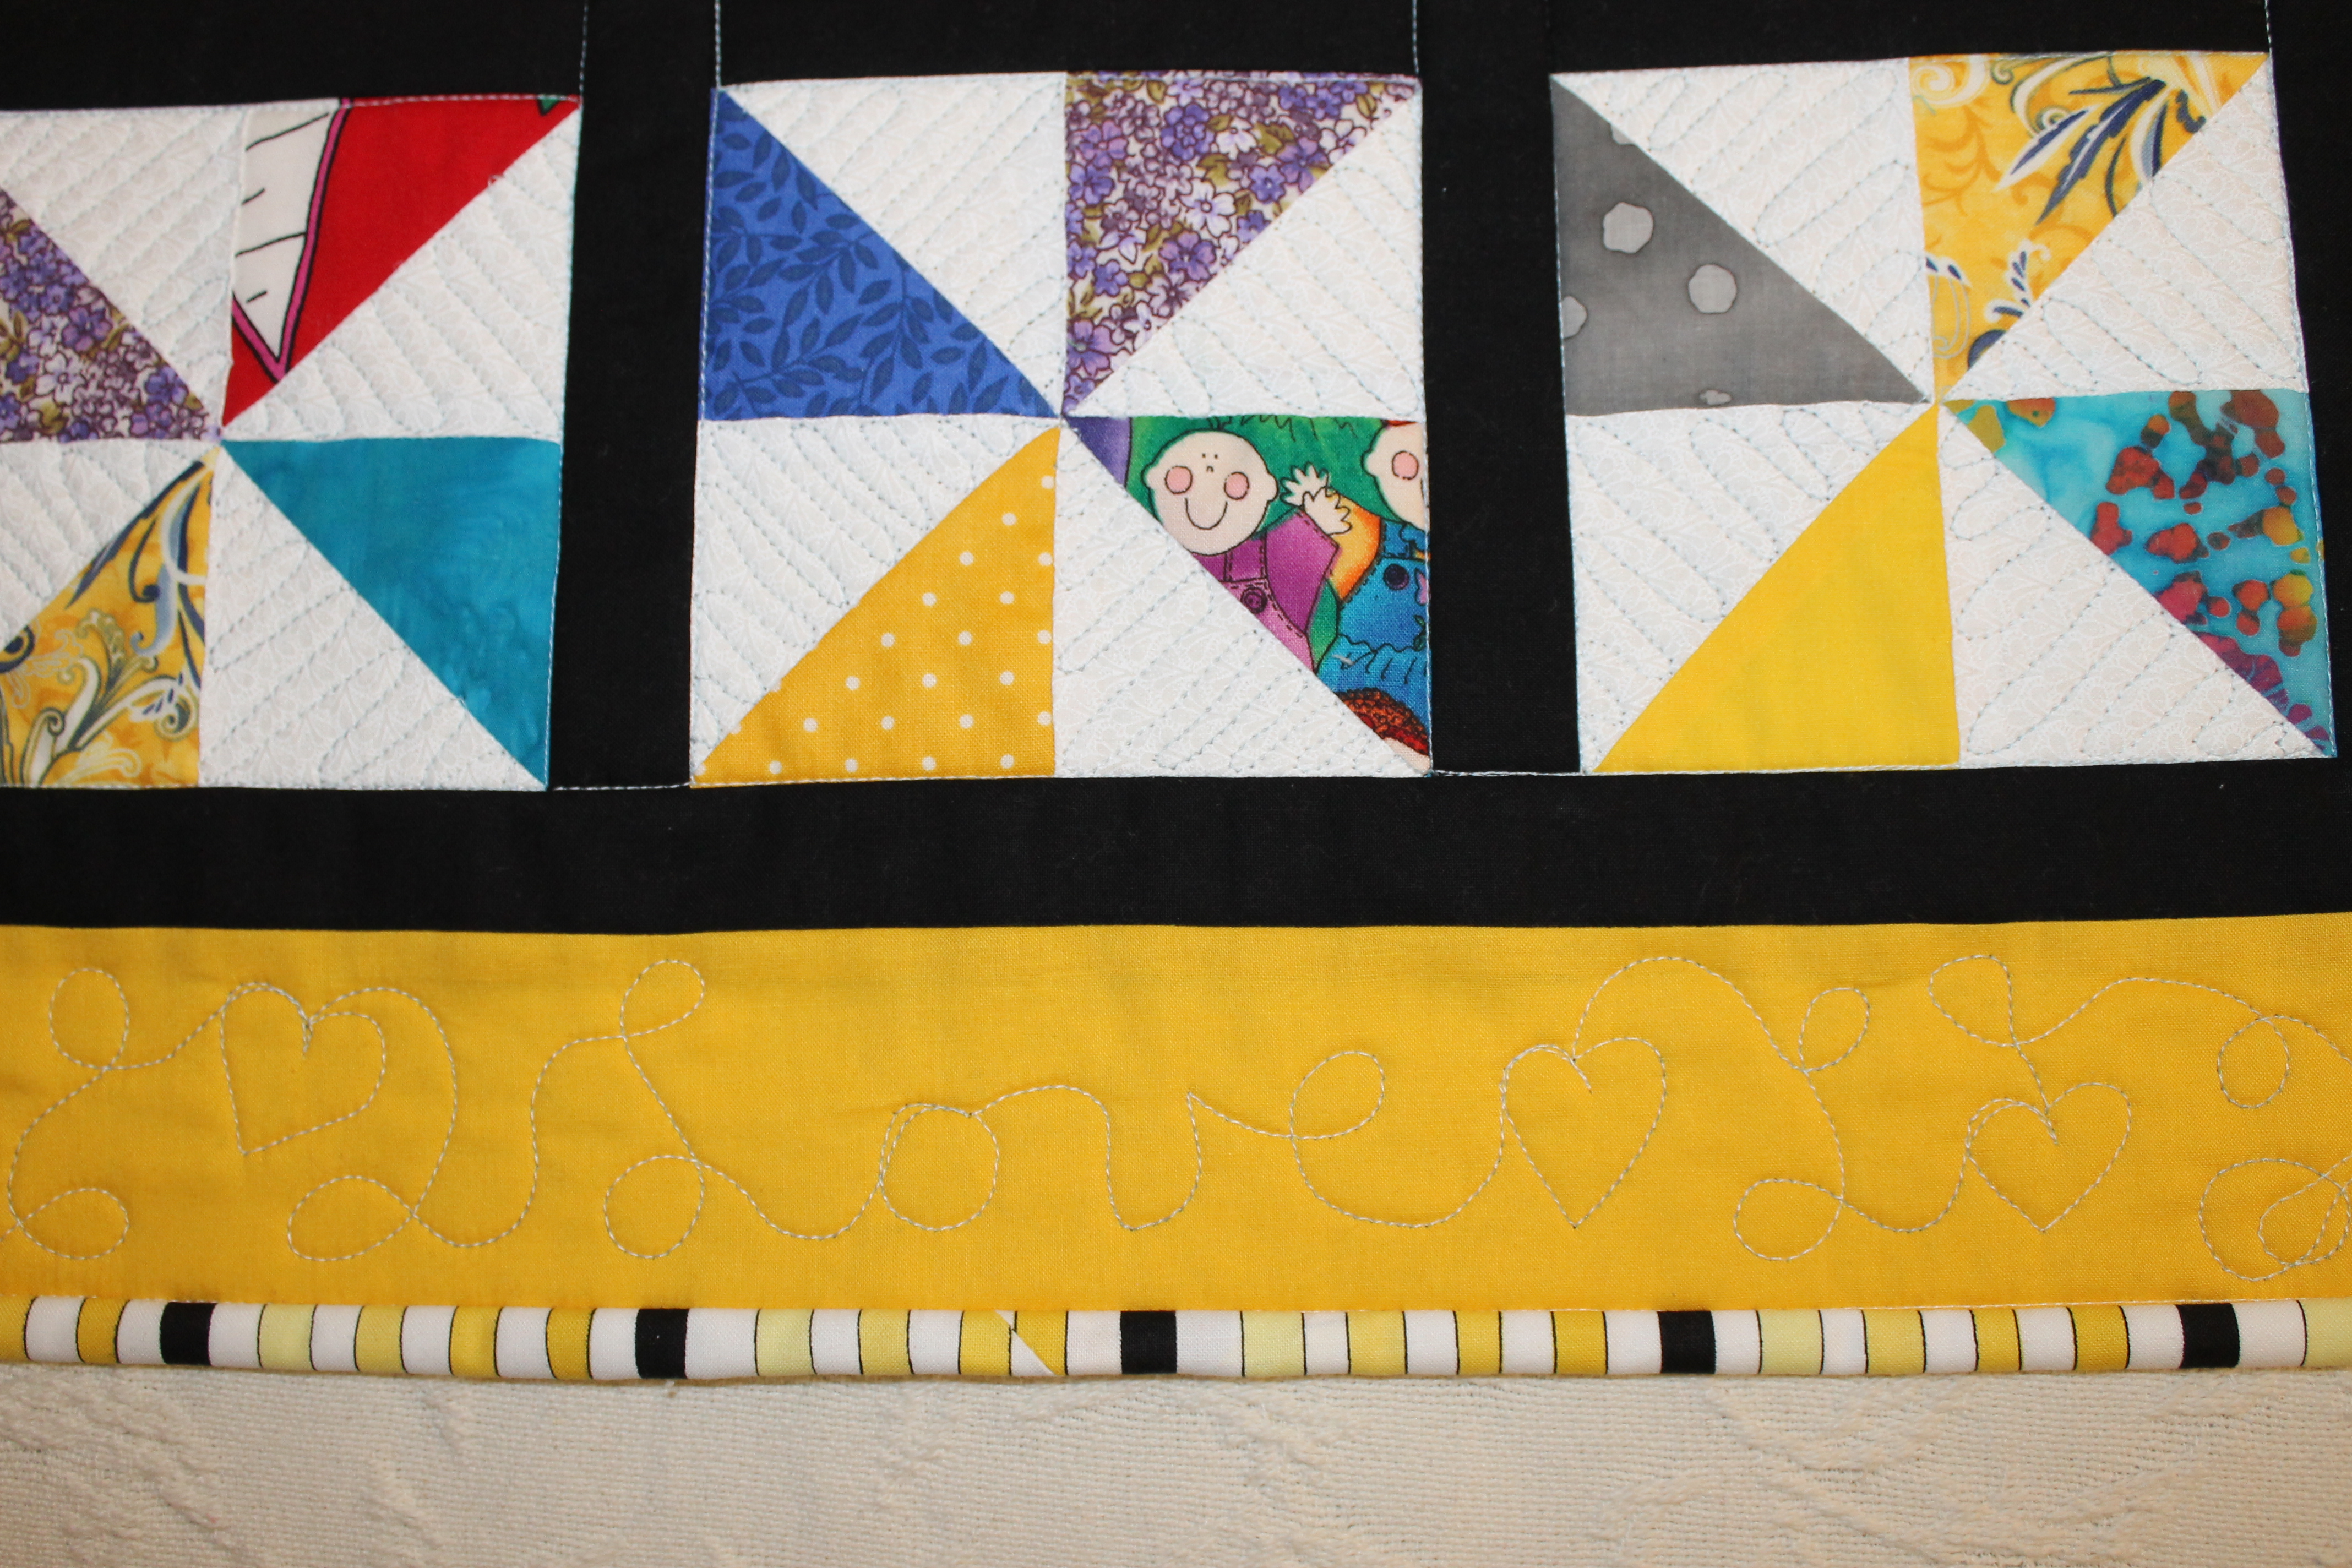
I took a closeup photo of the quilting and was pleased with myself when I decided to add the word "Love" in the quilting at the bottom. It's still kind of hard to see, but it's there.
Oh, and the stripes for the binding--I was lucky to have this perfect striped fabric in my stash! Thanks to Carol Swift of Just Let Me Quilt for her striped binding inspiration!!


So here is Raggedy Ann modeling the quilt for us. 
Someday my youngest granddaughter will get this doll quilt (she's only 6 months old now).


Thanks, Crafter's Edge, for letting me me on the Design Team!!


Tuesday, June 21, 2022

Halloween in June

 Ok, Halloween is good anytime, right?

I confess that thanks to Carol, Joan, and Carla, I pay a lot more attention to that fun holiday than I did before!

Last year Carla (Creatin' in the Sticks) posted a Halloween tic tac toe "board" and playing pieces.

This is what I made for my June Crafter's Edge project.

The board is actually the orange and black. I laid it on the background so it would show up better and really had intended to crop it, but... oh, well, you get the idea.


I used Crafter's Edge 4.5" die from the set of squares and the 3" circle from the set of circles.
Each die is show on the "board" below. I cut 1" strips for the black. CE has a die for that, and I have used it, but my personal preference is to cut them with my rotary cutter and ruler. I know some on our Design team love those strip dies and you might too!


Here are the orange squares using the square die:


Below are both the set of squares and the circles.
I am still amazed that these dies can cut up to 6 layers of fabric AND that they are flat and not sharp!


I hand stitched all the playing pieces. I guess I stretched them a little out of shape because they don't look like perfect circles anymore.

Time to play! 

Thanks, Crafter's Edge, for these wonderful dies, and Carla, for her terrific pattern!


Thursday, May 19, 2022

Fun Birds


This is my May project for Crafter's Edge.
The birds are cut from felt using the Crossover II, and I hand stitched them onto a flannel backing to make this wall hanging that is about 12 x 24".

Below are the dies I used from Sue Spargo's special collection of CE dies.


This is the set of dies for Bird #3. The dies are flat and cannot cut you. I am still amazed that they cut fabric, but they do.


A look at my birdies all stitched on their flannel squares.


Here's a closeup so you can see what stitches I used.


Then I had to decide which border to use. I thought I'd use flannel for that part too. I chose the light aqua so that the birds would stand out more.


Then, it's "how do I quilt this?" I ended up using my walking foot and stitching in the ditch around the blocks and then thought it would look nice to use some of those 200 plus decorative stitches on my machine, so that's the border "quilting."

Here's a closer look. The binding is regular quilter's cotton so it wouldn't be so bulky to work with.
 

I'm pleased to be on the Crafter's Edge design team again for 2022!
Thanks, CE, for allowing me the privilege!


Wednesday, April 27, 2022

April with Crafter's Edge


I am pleased to be on the Crafter's Edge Design Team again for 2022!
Each month I will create a project using the Crossover II cutting machine and dies.
For April I chose the Dresden plate die set.

I used a canvas drop cloth (won from a blog hop sometime in the last year or 2) to cut out my canvas for the tote bag, approximately 22 x 24, leaving the top hemmed edge.
Then I cut out the shapes using the Crossover II and dies.
I cut 4 layers of fabric at a time. You can cut up to 6 layers.
See how thin that metal piece is? And there are no sharp edges. 
I am still amazed that it cuts! But it does!

I cut both sizes of the Dresden, but I didn't use the small one on this project. I'll save it for something else.


This is a photo of the Rounded Dresden die set.


I forgot to take photos of the applique process--sorry about that!
I put short strips of Steam a Seam on the backs of the blades after I had stitched the Dresden together and then pressed it onto one piece/side of my bag. This is BEFORE stitching the bag together, of course! Using the Steam a Seam to hold the whole thing down worked pretty well.
I used a blanket stitch on my machine for the edges of the blades and for the center circle.

After I finished the applique, I sewed the sides and bottom of my bag together, boxed the bottom, and added the webbing for straps. (I happened to have blue webbing.)
I'm happy to have had enough blue and yellow from my Stand for Ukraine quilt to use for this "sunflower" for Ukraine.


Thanks, Crafter's Edge for the privilege of being on your team!

I wasn't done with my Jellyroll Sizzle for my last post, but it is done now.
Here is the front, thanks to my custom quilt holder for letting me get a photo--hee, hee!
Not sure if you can see it very well, but there is an orange flange in the binding.


And here's the back. When the strips sets are cut to length, there is a little extra, so that is on the back, along with some of the extra JR strips. I off-set the placement of them so I didn't have to worry about getting it exactly in the center.


Until next time! 


Thursday, April 21, 2022

Today is my day for the Wonderful World of Color hop hosted by Joan of Moosestash Quilting!
I've seen some amazing projects so far--lots of color and inspiration!
I thought I'd show a couple of older projects first...
I made the quilt below for my nephew, Matt, the middle school math teacher.
I made half square triangle blocks with a variety of fabrics from my stash. It is quilted in meandering triangles and the back has the circles on the fabric. Perfect for a math teacher, right?
He doesn't have it yet because we didn't get to visit him this year, as we had planned. (Don't tell him--it's a surprise!)

The table runner below was made for a Cerro Gordo Quilters lesson. I don't remember the name of the pattern, but you make strip sets and cut them diagonally. These fabrics were all scraps from another project.

Last Friday my local quilt shop, Stewart's Sewing Machines, had a lesson on this Braided Twist table runner. I had bought the book and template several years ago but never made it. This was my chance!
Below is the completed runner and the back.
I topstitched around edges to hold the pieces down.

This is the back:

Here is the book and template--by Cheryl Phillips. It was a lot easier than I thought it would be.

My next project is not done, alas! I really wanted to finish it, but we have been gone too much this month. At least the top (flimsy) is finished, and I have the back ready, so I can sandwich it and quilt it soon.
This is a free pattern from the Fat Quarter Shop, Jelly Roll Sizzle, with a border designed by Pat Sloan.
You can find both on their web sites. I used a Leather Snack Pack by Fabri-Quilt, Inc. for my 2.5" strips. The orange and yellow were batiks in my stash. It measures about 56" square.

I hope you get inspired today as you check out all the posts!
Thanks, Joan, for another great hop!
Here are today's and tomorrow's bloggers:

Thursday April 21


Thursday, April 7, 2022

One Block Wonder III


This is my third One Block Wonder, approximately 54 x 54".
You can tell the clothesline is a little shady, but that's my best photo spot, so there it is.

The fabric I chose was really busy, as you can tell, but still made a pretty neat OBW.
Below are closeups of some of the hexies. I FMQed it with meandering boxes/squares/rectangles, and I bound it with a nice green/blue/yellow stripe (last photo) which exactly matched those colors in the quilt.


Hexies are partially sewn on OBW IV, but that finish may wait until I have a few other projects done. Both III and IV were started as part of OBW classes I taught.


The Wonderful World of Color Hop is coming up, starting April 18. Joan of Moosestash Quilting is hosting. My turn in April 21. Here is the list of participants.

Monday April 18


Be sure to join in the fun!