Friday, March 11, 2022

Quilt Retreat and March Crafter's Edge Design

Our Cerro Gordo Quilters and friends had our annual quilt retreat at Threads of Time in Danville, IL.
During that time, I made my March project for Crafter's Edge with my Crossover II cutter and several dies.
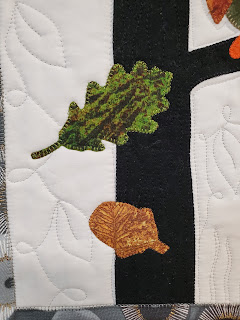
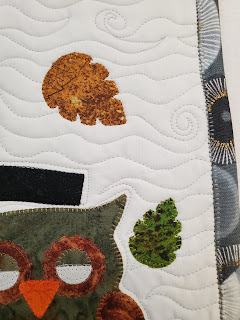
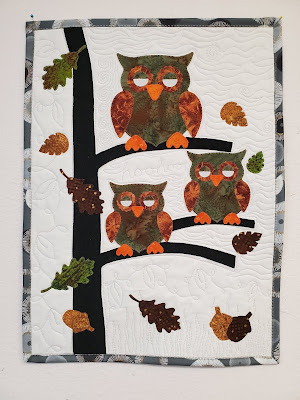
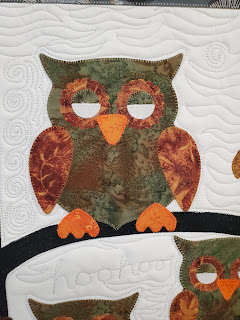
This owl wall hanging is approximately 15 x 20". I have a friend who loves owls, and for some time now I have been determined to make something "owly" for her.
I wasn't into using bright colors--wanted a more natural look for it.
These are the dies I used:
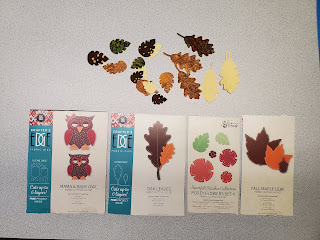
the owls, of course, the small oak leaf, the leaves in the flower set, and the acorn (in the maple leaf set--I know, I know).

Below are some closeups. I appliqued and quilted it on my Janome 9400 since I wasn't at home with my Juki sitdown quilting machine. The Janome worked great, of course. I am just not used to using it. 
Do you like my "hoohoo" quilted into it? :)


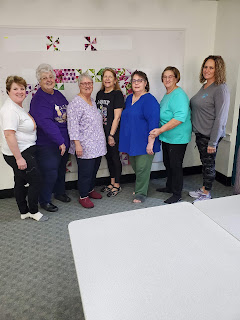
Here is our retreat crew:

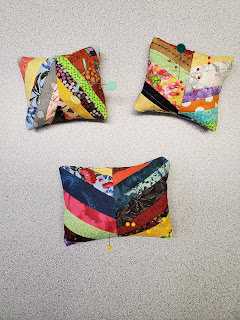
Four of us made pincushions--I couldn't find one of them when I went to take the picture...

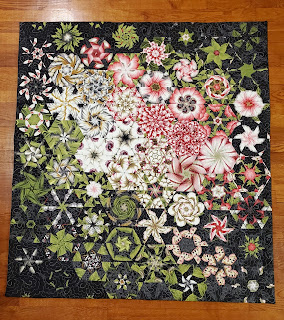
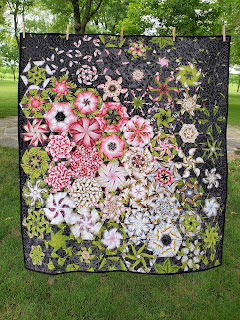
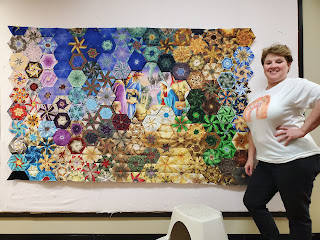
Kim finished her one block wonder top. She came to Cerro Gordo last fall and learned the process. Life got in the way as far as finishing it until this weekend.

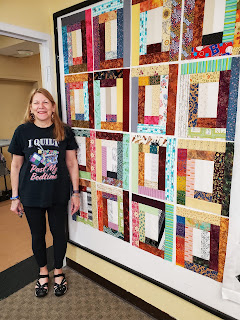
I took Pat Sloan's String Bean challenge pattern and my leftover 2.5" strips.
Here are my blocks:

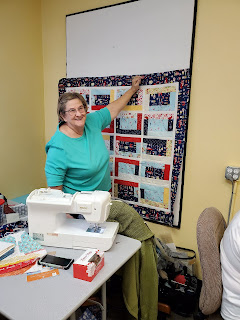
Rosie made one with just the centers using a jelly roll.

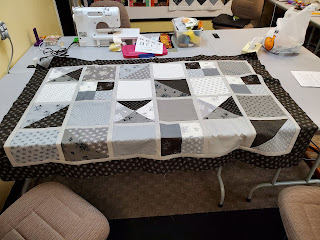
Jennifer used a layer cake for this pattern:

Leslie made this baby quilt using a panel:
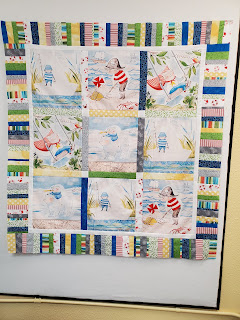

Jo and I both bought the fabrics to make this lovely quilt.


We had a great time! Already looking forward to next year!


Sunday, March 6, 2022

Standing for Ukraine


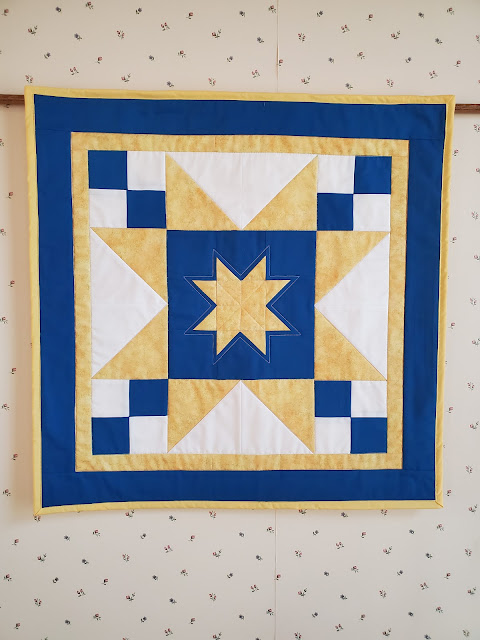
Pat Sloan on her blog posted a pattern to help show our support of Ukraine and its people.
Pat is asking for a donation to UNICEF as "payment" for use of her pattern.
Here is my quilt--it's about 24 x 24.
I chose not to do much quilting, only stitch in the ditch and echoing around the center star.
My heart hurts for the Ukrainian people, but one small thing we can do is donate to good causes to give them some aid.

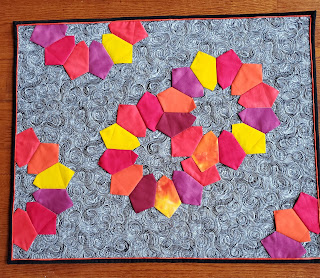
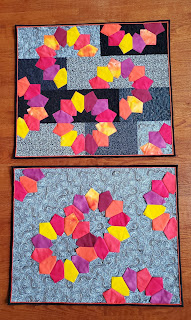
I finished my 2nd Susan K. Cleveland dresden project. The first one was in another post; this one is made with the leftover dresden blades, and the blades are quilted the same way Susan does. I need to press it all again, because in the quilting process the blades get creased, but I wanted to get this up for you to see.


Here is a look at the first and second project. I suppose I will give away the second one at some point. I can't imagine a time that I would want both displayed at once.


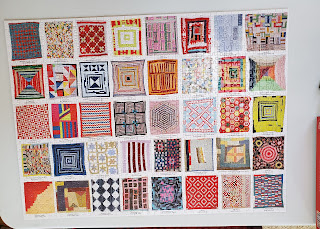
My daughter Sarah gave me a Gees Bend quilters puzzle for Christmas (which we just celebrated 2 weeks ago). Here is the finished puzzle. Daughter Natalie gave me puzzle trays that stack--very nice! So nice that I got another set. :)

Tomorrow is our annual Cerro Gordo Quilters retreat at Threads of Time in Danville, IL. We are SEW looking forward to it! I think there are 8 of us. Fun times for parts of 4 days and 3 nights!!


Friday, February 25, 2022

Hearts for February

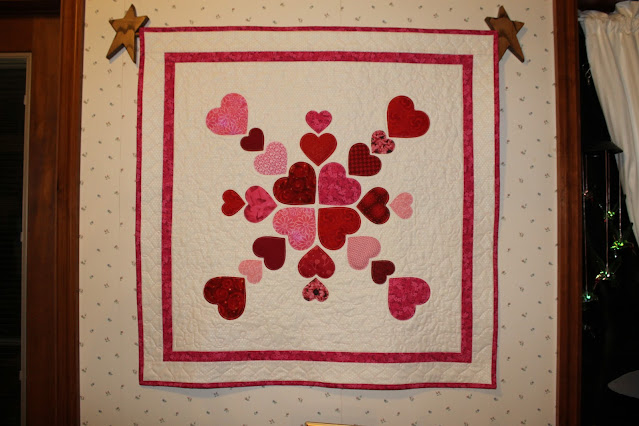
I finished a project for February with heart dies from Crafter's Edge. I saw this project on Accuquilt, but I have the Crafter's Edge Nested Heart die set and wanted to use it. The way I arranged the hearts is rotated from the pattern, and it is several inches larger. I think the hearts are slightly larger too. My final project is about 34 x 34.
The center background piece, I think, was 28" square. Then I added the pink 1.5" inner border, a 2.5" outer border, and pink binding.


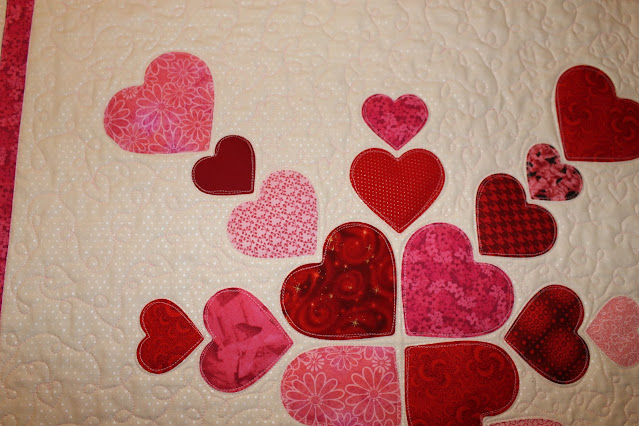
I'm not sure if you can see it, but I did straight stitch applique for the hearts and loops and hearts in the background. I also stitched in the ditch on the borders and did a loop to loop on the outer border. All of it was done on my sit down quilting machine, my Juki Miyabi QVP, using a light pink 50 wt thread.

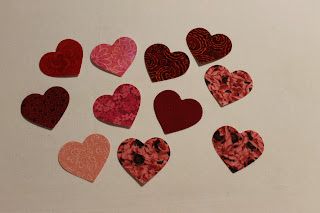
Below are my leftover hearts--2 x 2.5" in size. 


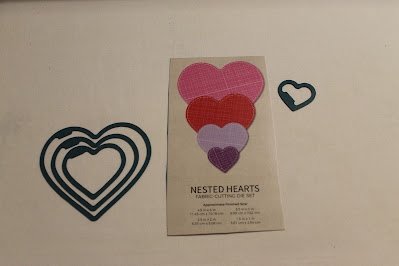
Here is the Nested Hearts die set I used with the larger used ones on the left and the small unused die on the right.


The Crossover II is a great machine for cutting applique shapes, and the dies are easy to use. It sure beats cutting those shapes out by hand!


Thursday, February 24, 2022

Belated Postings

I'm behind in posting some of my finishes.
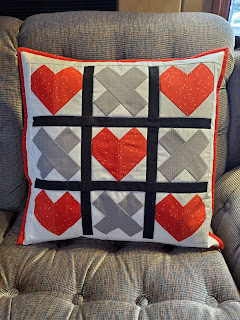
Below is the Riley Blake pillow of the month for February. This comes in a kit, with everything included except the batting and the pillow form. Sew cute!


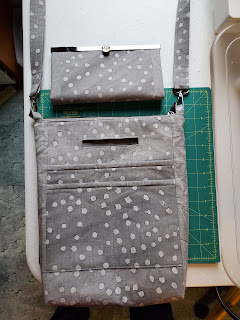
I made a purse for my hairdresser--one of my SILs requested a purse too. 
This one is a crossbody bag that I love (I have made 2 for myself). Chris picked out the fabrics. After I made the purse, I thought she needed a Diva wallet too. 😊


My 2nd one block wonder from these floral panels (Tivoli Garden) from Wilmington Prints.
Another SIL loved my first OBW so I bought more panels to make her one. Instead of binding Marcia's, I faced it.


Below is the one I made for myself. I bound mine--wish I had learned about facing then, but I'm not giving away my first one. I love it too much.


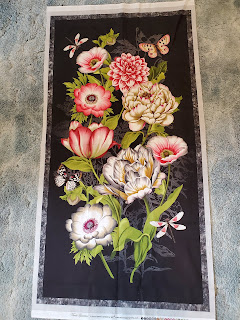
Here is the panel I used. (It takes 6 panels.)


I fell in love with Susan K. Cleveland's Disappearing Dresdens a couple of years ago and learned about her Piping Hot Piping from a friend. After buying a bunch of Susan's supplies for each, I made my own Disappearing Dresdens with Piping Hot Piping. I had sew many Dresden blades left, that I made another piece and am almost finished with it. Other than having to hand stitch the binding on the back, I really like Susan's method for putting on the piping and binding. Hand stitching isn't the end of the world for me, but I tend to want to do all my binding by machine.


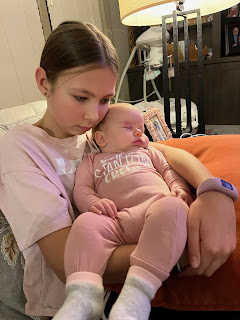
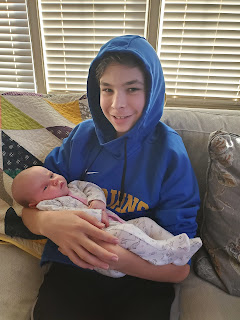
How about some grandkids' pictures?
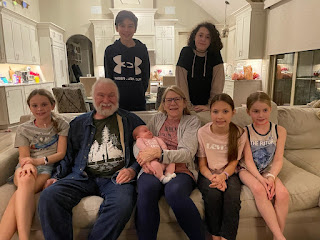
Here we are with all 6 of them--last weekend was the first time we've all been together since last July.


Hailey and Connor met Sydney for the first time this past weekend.


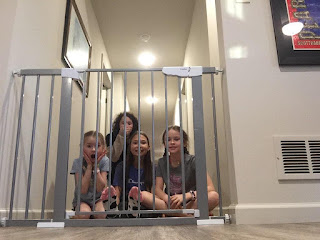
The 4 bigger girls are behind a gate to keep the dogs out.


That was a great time! Love being with family!


Saturday, January 8, 2022

Recent Finishes


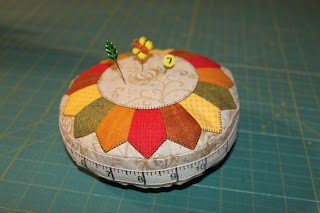
First up is a pin cushion I made using some of my Crafter's Edge dies.
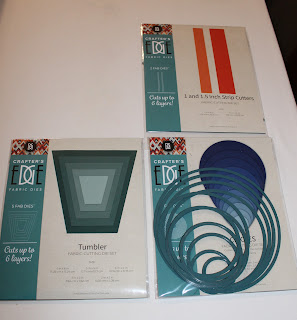
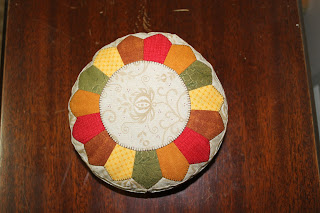
This little beauty uses 2 of the circles in the Circle die set, a small tumbler in the Tumbler die set, and the 1.5" strip die. I had made a similar pin cushion several years ago without all those dies and wanted to see how I could use CE to help make another one. Some of the others on our Crafter's Edge Design Team had used the tumblers to make Dresden plates, and I wanted to try it to. Worked pretty well, I think! I only used 3 repeats of the 5 colors instead of the usual 4 to get my circular design, and the center circle had to be bigger than usual for a Dresden plate, but overall, the effect is a good one.


Pictured below are the die sets I used.


Another look at the pin cushion from the top.
It's about 6" in diameter. I used the largest, 6.5", circle die for the outside of the pincushion and the 3.5" for the inner circle. There is a 1.5" strip connecting the top and bottom circles together, and I had some twill measuring "tape" that I stitched onto that.


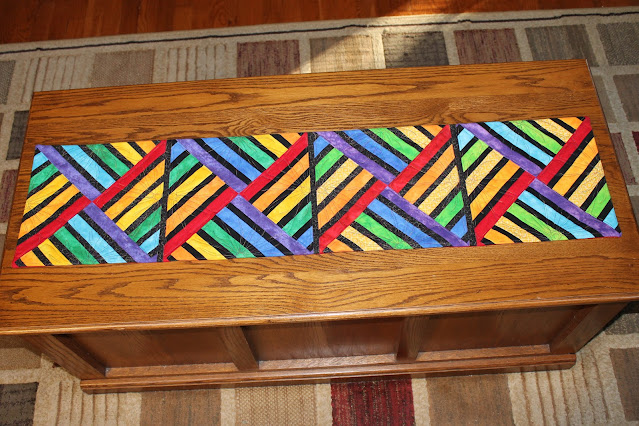
The table runner below is a pattern from Connie at Free Motion by the River.
It's called the Jewel Table Runner. The Cerro Gordo Quilters had this as our November lesson. I finally got it quilted this past week and put a facing on it instead of a binding so I could see the entire top of the runner. I should have taken a close up of the quilting--it's from Lori Kennedy's designs and is part of a flower in each triangle. I used variegated Sew Fine #40 in the quilting.


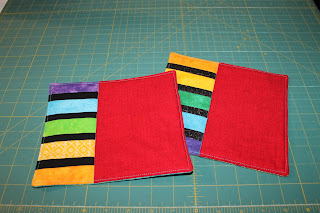
I had some scraps so made a couple of mug mats to match.


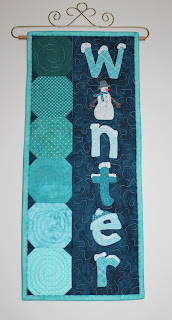
Next up, the last Year in Words wall hanging from Shabby Fabrics. I loved getting these kits each month and am pretty impressed with myself that I finished each one. (Don't worry, I won't break my arm by patting myself on the back. LOL)


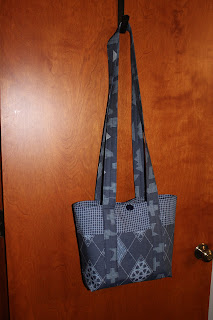
I don't usually make purses for anyone but myself, but when my hairdresser asks, I respond. Here is the purse I made for her. She asked for the long handles so she could use it crossbody.


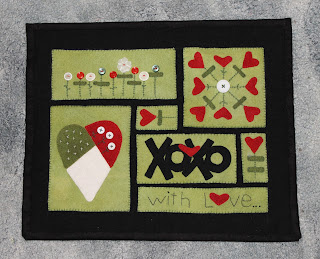
Lastly I finished this wool piece (by Rachel Pellman). I love her designs. It has a hanging sleeve on the back and a little hand quilting in the black.


New projects are started. I'll update my blog as I finish them.

Sunday, December 12, 2021

Let It Snow with Crafter's Edge


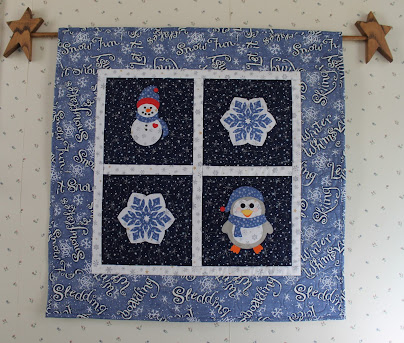
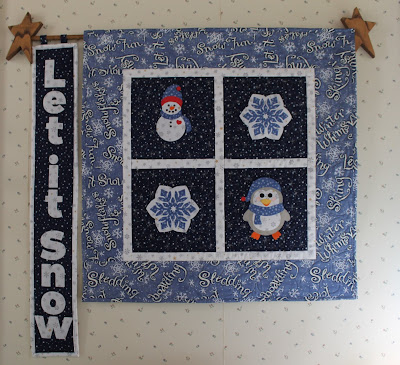
My Crafter's Edge Design Team project for December is called Let It Snow.
This little wall hanging is about 30 x 30".

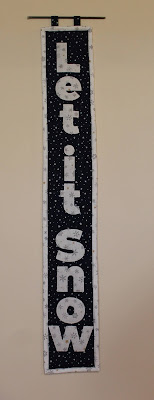
I made a companion piece too.


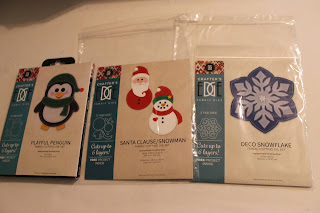
These 2 pieces use several dies from Crafter's Edge--a few are pictured below.


In addition, I used the 1 1/2 inch strip die, and all those letters you see in "Let it Snow." :)

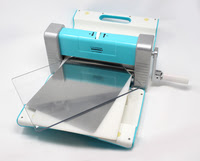
All these shapes are easy-peasy to cut with this wonderful Crossover II machine:


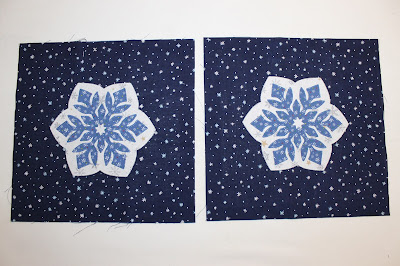
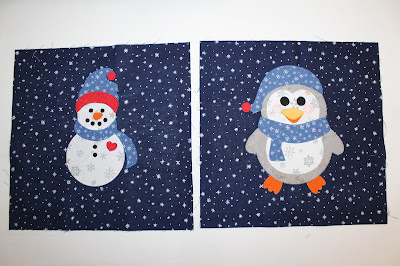
Here's another look at the individual blocks:


I used one of the blanket stitches on my Janome 9400 to applique the pieces--all but the little black dots on the snowman and the little stars in the middle of the snowflakes--I left those alone.

It's pretty cool that the same dies for the snowman can be used for Santa. Santa's beard is Santa's and the snowman's hat! Some designer was pretty clever!

I was actually hoping the "Let it Snow" would be attached to the bottom of the first wall hanging, but that would have made the hanging a lot bigger than I wanted it to be, so I kept it as a separate banner, if you will. I'm not sure if I'll ever hang them side-by-side, but here's what that might look like:


Thanks, Crafter's Edge, for letting me on the 2021 design team!
It has been a wonderful experience that I hope will continue next year!


Thursday, December 9, 2021

Virtual Cookie Exchange--Fudge???


I am sharing about making fudge for this Virtual Cookie Exchange blog hop hosted by Carol of Just Let Me Quilt. 
Fudge, you say? I know, fudge and cookies are not the same, but our church women make lots of candy for the Christmas season, and this year, I needed to make the fudge. Now, I am not a fudge-eater, but anything for the cause, right?
And it was simple enough.
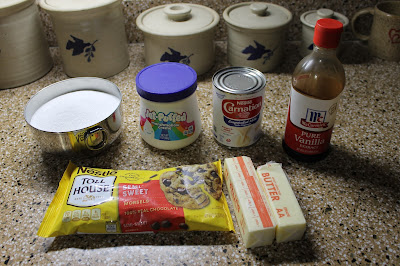
Here are the ingredients:
sugar, marshmallow creme, evaporated milk, vanilla, chocolate chips, and butter.
(Recipe to follow)

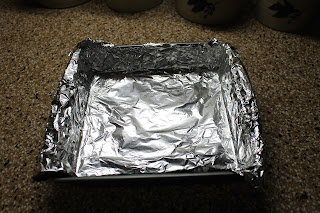
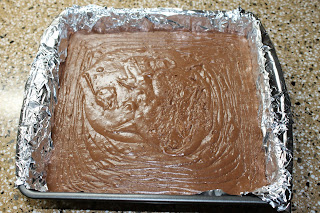
First, line a 9x9" pan with foil--saves cleanup and also helps with cutting the fudge.


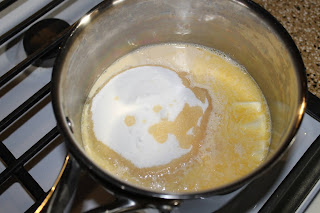
Put the sugar, milk, and butter in a pan and cook, stirring constantly.


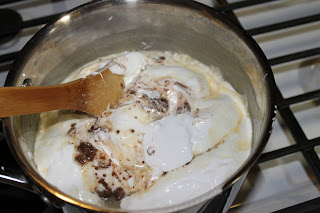
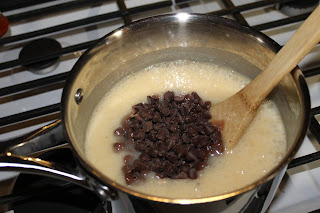
After it has cooked enough, up to soft ball stage, remove from heat, add chocolate chips and 


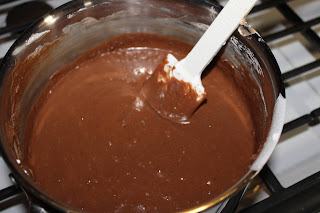
marshmallow creme, stirring until all is melted and mixed well. If it were up to me, I would add nuts at this point too, but when we sell to the public, we do not add the nuts.


Then add the vanilla and stir until it is mixed in.


Pour into the pan and let it set up well.


Then you can pull the entire block of fudge out of the pan, using the foil and cut into the size pieces you want. (I should have taken a photo of that part, but I did not.)
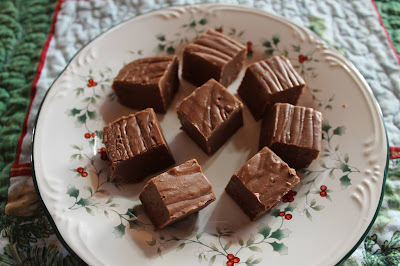
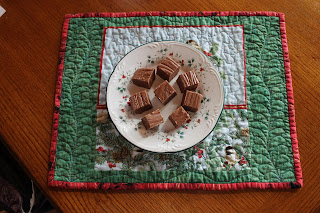
I cut mine into one inch pieces. 


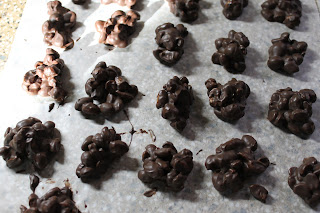
My all time favorite candy to make is peanut clusters, and even though this a not a "pretty" picture of them, here are some I made, just Ghirardelli dark chocolate melting wafers and peanuts. YUM!!!


Fantasy Fudge

 3 cups sugar

¾ cup butter or margarine

2/3 cup evaporated milk

12 oz Baker’s semi sweet chocolate, chopped (12 oz chocolate chips)

1-7 oz jar marshmallow crème

1 cup chopped walnuts

1 teaspoon vanilla

Line 9-inch square pan with Reynolds Wrap® Aluminum Foil, with ends of foil extending over sides. Bring sugar, butter and evaporated milk to full rolling boil in 3-qt. saucepan on medium heat, stirring constantly. Cook 4 min. or until candy thermometer reaches 234°F, stirring constantly. Remove from heat.

Add chocolate and marshmallow creme; stir until melted. Add nuts and vanilla; mix well.

Pour into prepared pan; spread to cover bottom of pan. Cool completely. Use foil handles to lift fudge from pan before cutting into 1-inch squares.

Merry Christmas and Happy Holidays to all!

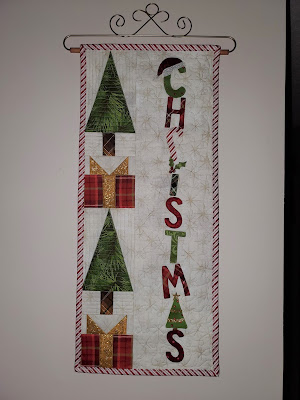
Here is my Christmas wall hanging from Shabby Fabrics Year in Words:

(For whatever reason, my edited copy was not saved... !!!)


*****

Here are the rest of the wonderful bloggers this week--be sure to check them out!